
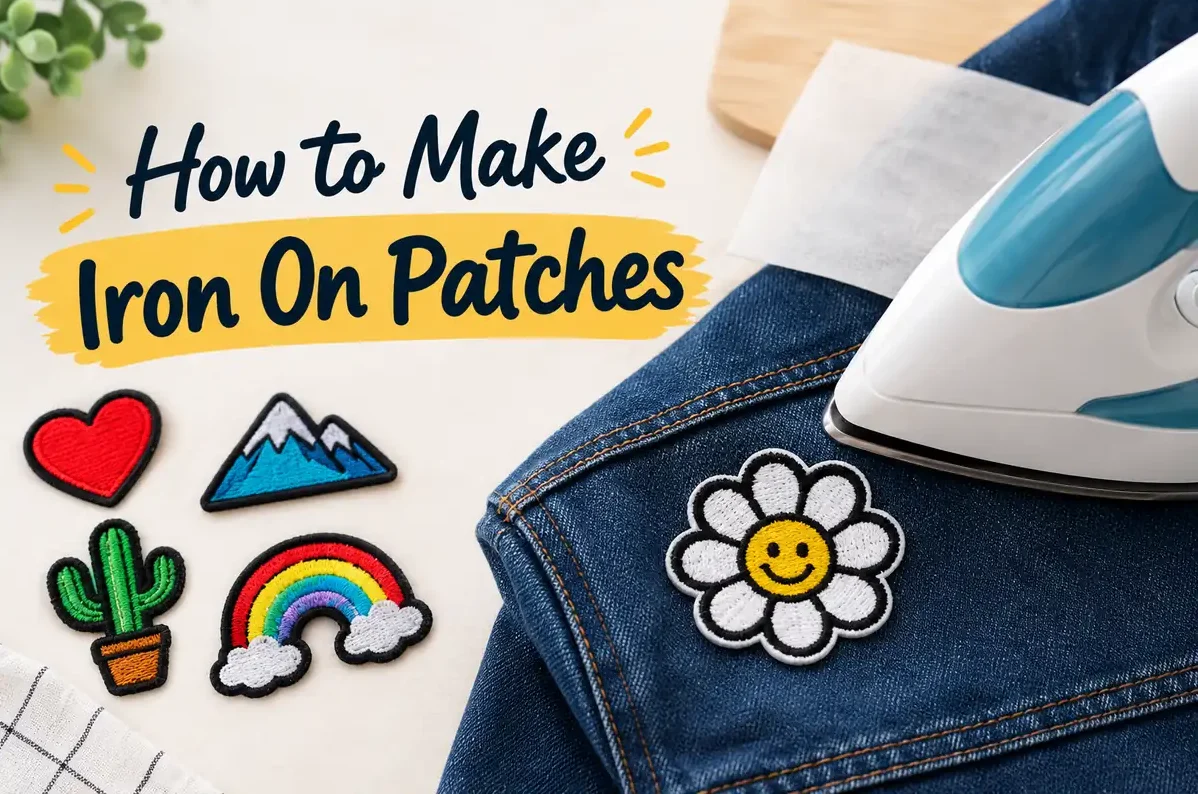
How to Make Iron On Patches
A jacket with a torn elbow or a plain tote bag doesn’t have to sit at the back of the cupboard. One patch can fix both. If you’ve been wondering how to make iron on patch yourself, it’s much easier than most people expect. You need a bit of fabric, some glue that melts with heat, and a regular iron. Here’s the whole process, from materials to washing.
What Iron On Patches Are Made Of?
Flip a store-bought patch over, and you’ll get a good idea of what iron on patches are made of. The front side of the patch contains either twisted fabric, felt, cotton, or a combination of polyester and has the theme sewn, printed, or painted on it. The back side consists of shiny plastic. When the patch gets heat, the glue melts and is absorbed into the fabric. Some patches may also have some paper on top of the glue before it is used.
What Do You Need for DIY Iron On Patches?
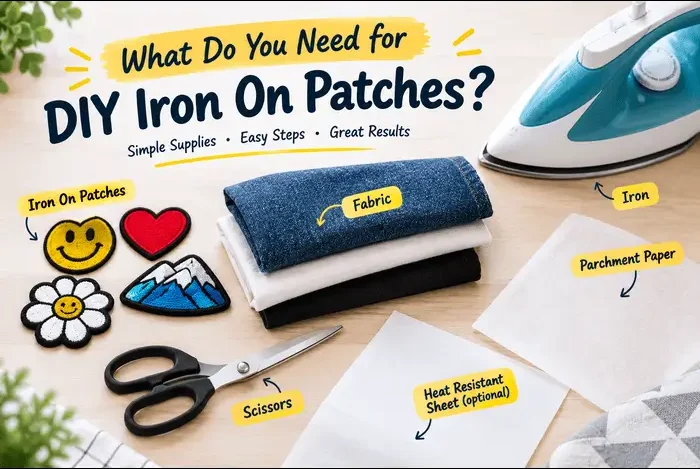
Nothing here is hard to find. A small fabric shop or your own cupboard will cover most of it.
- Base fabric like twill or canvas for a sturdier finish
- Thread, fabric paint or fabric markers for the design
- Fusible webbing or iron-on adhesive sheets
- Sharp scissors
- An iron and a flat, heat-safe surface
- A thin cotton cloth or parchment paper
Felt is easy to cut because the fabric does not fray. Twill fabric looks better but requires more care when cutting.
How to Make an Iron-On Patch Without Any Machine?
Once you have gathered all the materials and supplies, you are ready to start making your iron on patches in Australia. Making your own iron-on patches is not a complicated process.
- To begin, it is best to create a design by drawing an easy-to-read pattern. Bigger shapes combine more fine details.
- Then cut out the base fabric of the patch with a margin from the design.
- Use the finished art that you have decided to create, including markers or stitched images. Wait until the paint is dry before doing anything.
- Outline the patch’s shape on the glue paper and cut it slightly smaller than the shape so that the glue wouldn’t ooze from the edges.
- Then place the glue sheet on the back of the patch with the paper side up and iron it without steam for the determined period described in the directions within the package.
- After waiting some time till the patch cools down, remove the paper from the patch.
After step five, the back of your patch will look glossy. That’s how you know the glue is in place.
How Do You Apply It to a Garment?
Once you’ve learned how to make iron on patch, applying it takes about five minutes. You should wash the fabric before applying the iron-on patch so it doesn’t shrink afterwards. The iron should be heated to the cotton setting without using the steam function. Place the patch on the fabric, then place a cotton cloth over it and press the patch for about ten to fifteen seconds without moving the iron around. Once you are done, turn the fabric inside out and iron the back of the patch for around twenty to thirty seconds. After you place your fingers over the material, you will know the areas that have yet to attach themselves to the fabric.
Which Fabrics Work Best and Which Should You Avoid?
The safest materials tend to be cotton because it can withstand heat and hold the glue properly. On the contrary, nylon, silk, and rain jackets do not possess the same qualities, as they either melt or do not hold the glue at all. Other materials like wool and bulky cord fabrics come in the middle, so if you choose to use them, make sure to stitch them in place just in case.
Where Can You Buy Ready-Made Patches in Australia?
If you’re not into DIY iron on patches, you can find plenty of Australian patch makers with ease. A simple search for iron on patches will show you several embroidery businesses offering similar services. The price is determined by the size, work detail, and amount of patches ordered. You can easily find an online blog that suggests prices for custom patches at around $2 to $8 each, depending on the order size, so an estimate is a must before proceeding with the order.
Ask for a sample first. It answers the question “what iron on patches are made of” better than any product description.
What Mistakes Should You Avoid?
A lot of unsuccessful patches are produced due to minor mistakes, such as having steam on while ironing the patch, which weakens the adhesive. Skipping the pressing cloth can scorch the thread. Sliding the iron around leaves the patch half stuck. Pressing only one side is another common one, and so is touching the patch before it cools.
If your patch peels after one wash, one of these is usually the reason, not the patch itself. Nearly everyone learning how to make iron on patches for the first time makes at least one of them, so don’t stress about it.
How Do You Make Patches Last Longer?
Allow the glue to fully cure for 48 hours prior to washing your fabric. Next, flip it inside out, machine wash cold, and dry on the line. Heat from the dryer can harm the adhesive’s bond. If a corner lifts months later, a few hand stitches will save it.
Most Asked Questions
What happens if I don’t have felt?
That’s not a problem. Felt is just easy to work with, and it is one of the common answers to what iron on patches are made of, but it isn’t your only option. You can use twill, denim, or canvas instead. Avoid anything very thin because it can end up looking floppy once you’ve cut the patch out.
Why is my patch coming off?
Most likely, it didn’t get enough heat or pressure. Check the edges first. If only a corner is loose, press that part again rather than doing the whole patch from scratch.
Can I put a patch on a canvas bag?
Yes, and canvas is one of the nicer materials to work with. It doesn’t tend to cause the same problems as slippery or heat-sensitive fabrics.
Where can I get iron on patches in Australia?
There are plenty of Australian businesses making them, including custom designs. If you’re ordering several, ask for a sample before paying for the full order.
What Should You Take Away From This?
If you want to know how to make iron on patch designs that last, begin with fabric that can handle the heat. Then, apply heat properly on both sides, and remember to let the glue cool. That sums it up. You may not get it just right on the first try, especially if you attempt a complicated shape, but it gets easier once you see how the glue works. It’s a good idea to practice on a scrap before starting to work on your patch, and by the time you make your second patch, it will be second nature to you. It’s also nice to recycle your jacket, tote bag, or jeans.

I am Kelly James, and I enjoy helping people by providing them with clear and meaningful writing. I love creating content that is easy to read, informative, and engaging. Whether I am working on articles, blog posts, or website content, I always focus on making sure every piece connects with the reader. I am always learning, exploring new ideas, and finding better ways to tell stories that people enjoy reading.