 Custom Iron on Patches AU

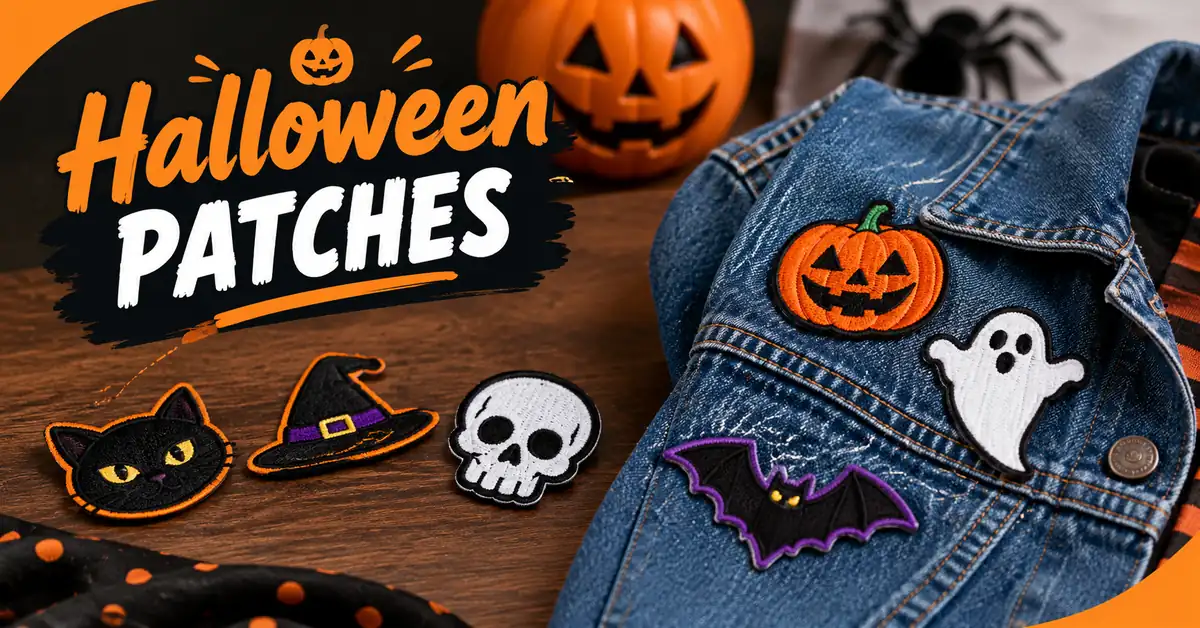
Halloween Iron On Patches: Easy DIY Costume Ideas
Walk into any shop in October and the Halloween costumes start to look the same. They also cost more than a simple outfit needs to. In Australia the night lands in spring, so a costume with a mask and extra layers can feel heavy before the party has even started.
A few Halloween iron on patches can change that. Put bats on a tee, a skull on a tote bag or a pumpkin on a denim jacket, and clothes you already own start to look like a costume. No sewing needed. This post covers easy costume ideas, other things you can patch, the difference between patch types and how to apply them.
Why Use Iron On Patches for Halloween Costumes?
A patch changes how an outfit looks without replacing the outfit. You choose the design, press it on and wear it the same day, which helps when the party is only a few days away.
No Sewing Needed
The adhesive is already on the back, so a household iron does the work. Placing a patch and pressing it takes a few minutes, not an evening with a needle and thread.
Works on Clothes You Own
A plain black tee, a denim jacket or a canvas tote can all become part of the look. You don’t have to buy a full outfit to wear it once.
Costs Less Than a Costume
A few patches cost less than most ready-made costumes, and you decide how many to buy. Some can be moved to another item later, but that depends on the patch and the fabric.
Easy DIY Halloween Costume Ideas With Patches
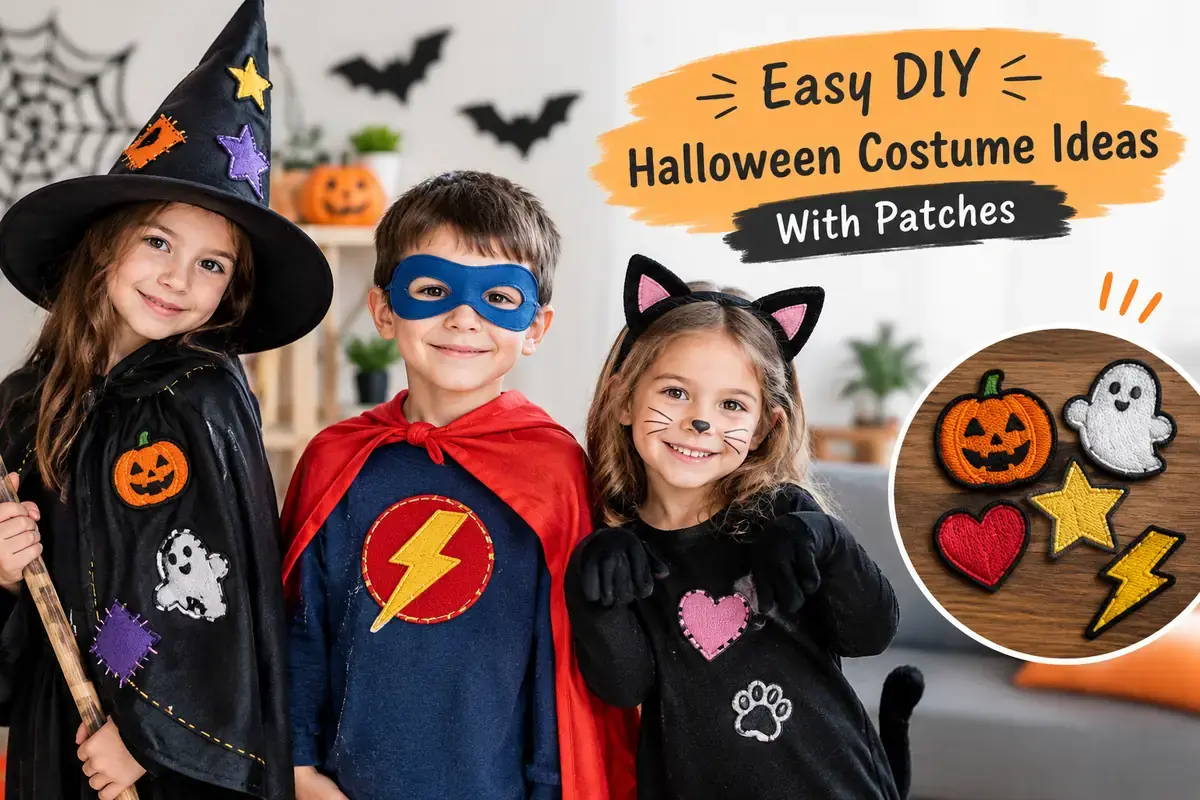
You do not need a full costume to look the part. Start with a plain top in the right colour and let Halloween iron on patches add the details. Each idea below works with light clothes that suit a warm October night.
Classic Costumes
- Skeleton: Wear a black tee or long sleeve top. Press bone patches down the arms and a few across the chest, then add a skull patch near the shoulder. Black shorts or leggings keep the look simple and cool.
- Witch: Use a dark top or dress in black or deep purple. A moon patch on the sleeve, a black cat near the hem and a potion bottle on the chest are enough. Add a pointed hat if you have one.
- Pumpkin: Start with an orange tee and put a jack-o’-lantern patch in the centre. A couple of smaller ones on the sleeves fill out the look.
Character-Inspired Looks
If you want something more playful, Mickey halloween patches can work on a plain black tee or a tote bag. Pick a Halloween style design and keep the rest of the outfit simple so the patch stands out. Designs based on well-known characters vary between sellers, so check what you are buying before you order.
Kids and Group Costumes
For kids, a plain tee with three or four patches is enough. Keep them on the front and sleeves so the design is easy to see and easy to check before they head out.
Groups can share a base and change the patch. A friend group could wear black tees with a bat, a skull, a ghost and a spider each. A family could do the same with one pumpkin design per person, so the outfits match without being identical.
Whichever idea you choose, lay the patches out on the top before you press anything. Moving them around at this stage is easy, and it shows you how your Halloween iron on patches will look together once they are on.
Embroidered vs Woven Patches
Halloween embroidery patches have raised threads that create a textured feel, while woven patches are flat and smooth with finer details. This simple comparison explains the key differences in woven vs embroidered patches.
| Embroidered | Woven | |
| Look | Raised and textured | Flat and smooth |
| Suits | Bold shapes with few colours | Small text and fine detail |
| Halloween example | A large bat or skull | A tiny spider web or a short phrase |
Which one for Halloween?
For simple shapes like pumpkins and bats, embroidery stands out well on a plain tee because the raised thread catches the eye. If the design has small lettering or thin lines, woven patches Australia sellers offer are worth a look, since a flat surface keeps small details readable.
Where Else Can You Use Halloween Patches?
Not every Halloween plan needs a costume. A patch on something you already carry or wear can be enough for a school day, an office party or a quiet night of trick-or-treating.
Bags and Jackets
A canvas tote, a backpack or a trick-or-treat bag is the easiest place to start because the fabric is flat. A denim jacket works well too. One patch on the pocket or the back panel is plenty.
Caps and Shoes
Curved surfaces are harder to press flat, so a cap needs some care and a seam can get in the way. Canvas sneakers take a lot of wear, so they need extra securing.
How to Make and Apply Iron On Patches
If you are wondering how to make patches, there are two routes. You can cut one yourself from felt or fabric, or you can order one made from your own design.
Making One at Home
This works best for one or two simple shapes. You need felt, scissors and heat-activated adhesive backing so the patch can be pressed on with an iron. A bat or a pumpkin cut from black or orange felt is a good first try. Keep the shape simple because thin points are hard to cut cleanly by hand.
Ordering a Custom Patch
Ordering suits a set for a group or a design with more detail. If you need either, ordering iron on patches Australia from suppliers is the easier route. You send the artwork and choose the size and the patch type. Check that the backing is iron-on before you confirm the order.
Applying the Patch
Do this once the tee is clean and dry. Lay the patch where you want it and leave it there for a minute before you press anything, so you are not guessing the placement after it has stuck. The patch should come with its own instructions, and the heat and timing on those are the ones to follow because each brand uses a different adhesive. When the iron comes off, give the fabric time to cool and then run a finger around the edge. If a corner has lifted, it can go back under the iron. For a tote or a pair of sneakers, a few stitches around the edge will hold it better.
FAQs
1- What is the easiest Halloween outfit to make with patches?
A black tee with a few bone patches makes a quick skeleton. A white tee with one ghost patch works too. Both use clothes you already own and take a few minutes to press on.
2- What are common mistakes when using iron on patches?
Steam is the biggest one, because moisture gets in the way of the glue. Sliding the iron can shift the patch, so press straight down instead. A thin cotton cloth over the patch protects the threads from scorching. Check the care label as well, since nylon, silk and vinyl do not handle heat well.
3- Do iron on patches fall off easily?
Not when they are applied properly. They tend to lift when the heat or pressing time is too low, or when the fabric is a synthetic that rejects the glue. Hot washes and tumble dryers wear the adhesive down over time, so wash cold and air dry. A few stitches around the edge help on anything that gets heavy use.
4- What is the best glue for iron on patches?
Heat-activated adhesive is the usual choice because it melts into the fabric when you press it. Liquid fabric glue often does not hold well on a patch’s plastic backing, so it is better saved for fixing a loose edge. Follow the product’s own instructions for heat and timing.
5- How can you dress for Halloween without a full costume?
Add one patch to something you already wear, like a tote bag, a cap or a denim jacket. A small bat or spider is enough for work or school. Black or orange pieces help the outfit read as Halloween without more effort.
Wrapping Up
You can put a Halloween outfit together in one evening with a plain tee, a few patches and an iron. There is no sewing to do and no costume to buy. Pick one thing to start with, like a black tee for a skeleton or a canvas tote for trick-or-treating. If you order patches online, check the size against the spot on

I am Kelly James, and I enjoy helping people by providing them with clear and meaningful writing. I love creating content that is easy to read, informative, and engaging. Whether I am working on articles, blog posts, or website content, I always focus on making sure every piece connects with the reader. I am always learning, exploring new ideas, and finding better ways to tell stories that people enjoy reading.